 |  |
Commercial bought ones, mind you.
And you might find it shocking to hear that I've never had homemade ones.. *gasps*
Yeah yeah.. I know what you're thinking. That I've been living under the rock. That I've not experience life.
But.... as of now, I've officially made pop-tarts!
These are probably going on my all-time-favourite things to make; I can have them for dessert, or breakfast, or lunch, or every other meal and snack in between.
You can find the original recipe here.
 |  |
Homemade Pop Tarts
Pastry
2 cups (8 1/2 ounces) all-purpose flour
1 tablespoon sugar
1 teaspoon salt
1 cup (2 sticks or 8 ounces) unsalted butter, cut into pats
1 large egg
2 tablespoons (1 ounce) milk
1 additional large egg (to brush on pastry)
Cinnamon Filling (enough for 9 tarts)
1/2 cup (3 3/4 ounces) brown sugar
1 to 1 1/2 teaspoons ground cinnamon, to taste
4 teaspoons all-purpose flour
1 large egg, to brush on pastry before filling
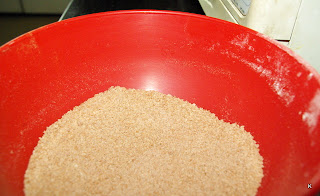
To make cinnamon filling: Whisk together the sugar, cinnamon, and flour.
Make the dough:
1) Whisk together the flour, sugar, and salt.
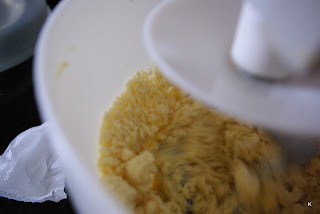
2) Work in the butter with your fingers or pastry blender until the mixture holds together when you squeeze it.
3) Whisk the first egg and milk together and stir them into the dough, mixing just until everything is cohesive, kneading briefly on a well-floured counter if necessary.
*you might need to refrigerate it for a while at this point, if your kitchen is on the warm side, that is*
4) Divide the dough in half, shape each half into a smooth rectangle, about 3×5 inches. You can roll this out immediately or wrap each half in plastic and refrigerate for up to 2 days.
5) If the dough has been chilled, remove it from the refrigerator and allow it to soften and become workable, about 15 to 30 minutes.
6) Place one piece on a lightly floured work surface, and roll it into a rectangle about 1/8″ thick, large enough that you can trim it to an even 9″ x 12″. [You can use a 9" x 13" pan, laid on top, as guidance.] Repeat with the second piece of dough. Set trimmings aside. Cut each piece of dough into thirds – you’ll form nine 3″ x 4″ rectangles.
7) Beat the additional egg and brush it over the entire surface of the first dough. This will be the “inside” of the tart; the egg is to help glue the lid on.
8) Place a heaping tablespoon of filling into the center of each rectangle, keeping a bare 1/2-inch perimeter around it. Place a second rectangle of dough atop the first, using your fingertips to press firmly around the pocket of filling, sealing the dough well on all sides. Press the tines of a fork all around the edge of the rectangle. Repeat with remaining tarts.
9) Gently place the tarts on a lightly greased or parchment-lined baking sheet. Prick the top of each tart multiple times with a fork; you want to make sure steam can escape, or the tarts will become puffy pillows rather than flat toaster pastries.
10) Refrigerate the tarts (they don’t need to be covered) for 30 minutes, while you preheat your oven to 180°C.
Bake the tarts: Remove the tarts form the fridge, and bake them for 20 to 25 minutes, until they’re a light golden brown. Cool in pan on rack.
Makes 12 pop-tarts
The ones on the left are brushed with egg before entering the oven; the ones on the right, are the "non-eggy" ones. Which one do you think looks better? I think i might go with the egg wash on the outside next time. =)
There were some egg left, so rather than wasting it, I made some custard. nice~~~


0 comments:
Post a Comment