
There's something about lemony, citrus-y things that appeals to me.
The bright colour?
The refreshing fragrance?
The sour-yet-sweet flavour?
And what is it that makes lemon and poppy seed such a perfect match?
Whatever it is; these cupcakes are yummeh.
The recipe is actually from Joy the Baker, one of my favourite food blogger. I just find her funny; and of course, I torture myself by looking at her photographs while at work. Including these muffins.

Ingredients
2/3 cup granulated sugar
zest and juice of 1 lemon
2 cups all-purpose flour
2 teaspoons baking powder
1/4 teaspoon baking soda
1/4 teaspoon salt
3/4 cup buttermilk or sour cream (I made my buttermilk using milk and a couple tablespoon of lemon juice)
2 large eggs
1 teaspoon vanilla extract
1 stick (8 Tablespoons) butter, melted until browned and cooled
2 Tablespoons poppy seeds
2 Tablespoons granulated sugar (for topping the batter before baking)
For the Glaze
1 cup powdered sugar whisked together with 2 or 3 Tablespoons of lemon juice
1) Preheat oven to 195°C. Line a 12 mold, regular sized muffin tray with paper muffin liners, place the muffin pan on a baking sheet and set aside.
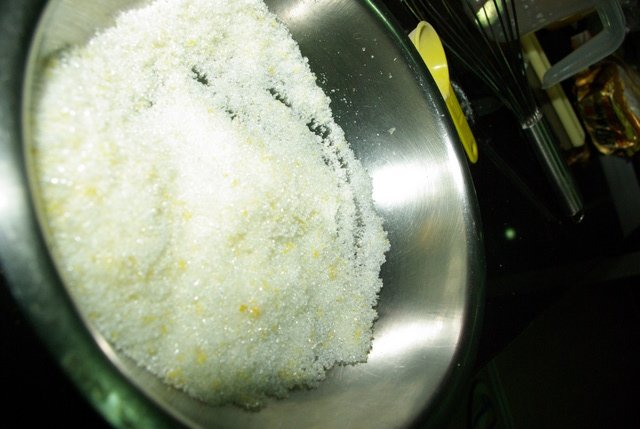
2) In a large bowl, rub the granulated sugar with the lemon zest until the sugar is lightly colored and scented with lemon. (Note: this rubbing releases the essential oil inside the lemon zest.)
3) Whisk in the flour, baking powder, baking soda and salt. In a medium sized bowl whisk together the eggs, buttermilk, vanilla extract, melted butter and lemon juice.
4) Add the wet ingredients to the dry ingredients and fold together. When almost thoroughly mixed, add the poppy seeds.
5) Divide batter between muffin cups. (I'm so meticulous, I measured each cup.)

6) Sprinkle each would be muffin with granulated sugar.
7) Bake for 15 to 18 minutes or until the tops are golden and a skewer inserted in the center of the muffin comes out clean.

8) Let cool in the pan for 5 minutes then transfer to a wire rack to cool completely before glazing.

Somehow mine were a bit sticky; and the muffin case stuck to the cake. I think I'll try this recipe again.2/3 cup granulated sugar
zest and juice of 1 lemon
2 cups all-purpose flour
2 teaspoons baking powder
1/4 teaspoon baking soda
1/4 teaspoon salt
3/4 cup buttermilk or sour cream (I made my buttermilk using milk and a couple tablespoon of lemon juice)
2 large eggs
1 teaspoon vanilla extract
1 stick (8 Tablespoons) butter, melted until browned and cooled
2 Tablespoons poppy seeds
2 Tablespoons granulated sugar (for topping the batter before baking)
For the Glaze
1 cup powdered sugar whisked together with 2 or 3 Tablespoons of lemon juice
1) Preheat oven to 195°C. Line a 12 mold, regular sized muffin tray with paper muffin liners, place the muffin pan on a baking sheet and set aside.
2) In a large bowl, rub the granulated sugar with the lemon zest until the sugar is lightly colored and scented with lemon. (Note: this rubbing releases the essential oil inside the lemon zest.)
 |  |  |
 |  |  |
3) Whisk in the flour, baking powder, baking soda and salt. In a medium sized bowl whisk together the eggs, buttermilk, vanilla extract, melted butter and lemon juice.
4) Add the wet ingredients to the dry ingredients and fold together. When almost thoroughly mixed, add the poppy seeds.
 |  |
 |  |

6) Sprinkle each would be muffin with granulated sugar.
7) Bake for 15 to 18 minutes or until the tops are golden and a skewer inserted in the center of the muffin comes out clean.

8) Let cool in the pan for 5 minutes then transfer to a wire rack to cool completely before glazing.


